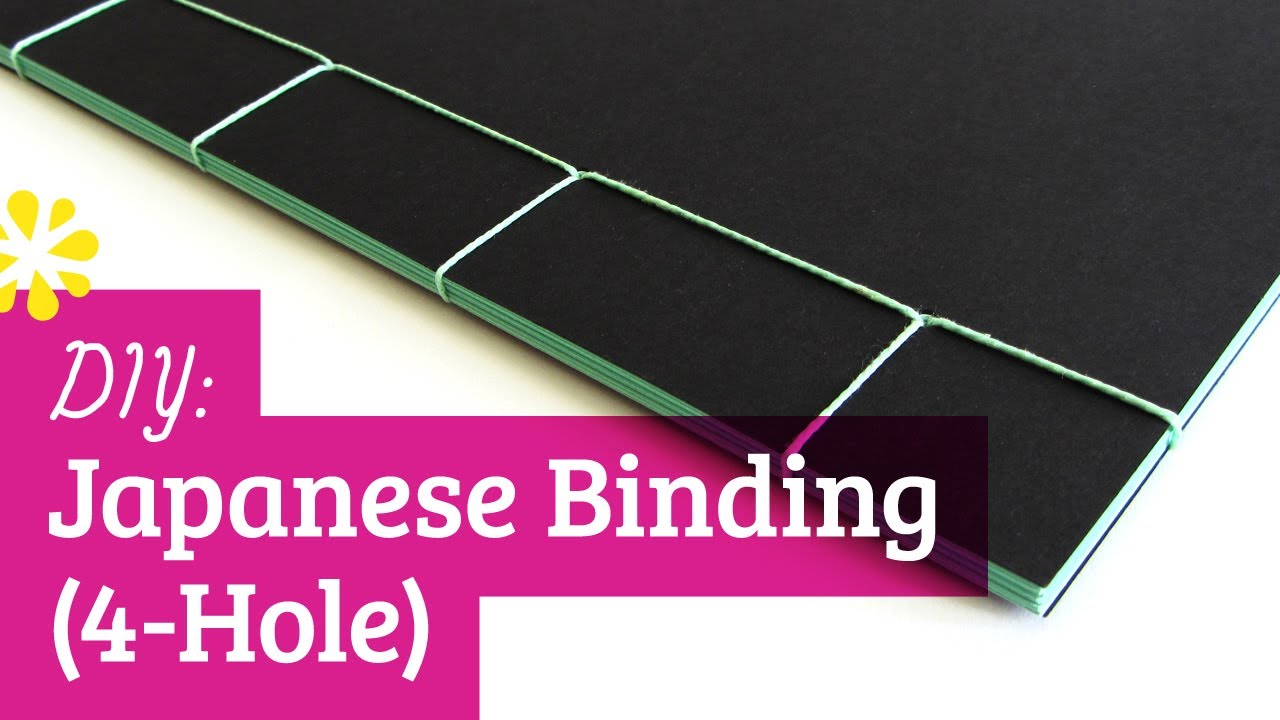
This is an example of the book that I will be making, I am going to use white paper and white thread to keep the appearance simple.
I printed around 30 of the best photographs from this project on the A2 printers, using lustre paper. I wanted to print the images directly onto the paper rather than sticking them in, as I think this makes the book look much neater. I cut every page to size using a guillotine, leaving a larger blank space on the left side of each print, where the stitching would be.
For the front cover of the book, I am planning to use the blue, linear mountain graphic from my logo design. I want a fully blank white cover with the linear mountain design going across the entire page to make a nice simple design, that will hopefully start to create a theme within my display.
For the front cover of the book, I am planning to use the blue, linear mountain graphic from my logo design. I want a fully blank white cover with the linear mountain design going across the entire page to make a nice simple design, that will hopefully start to create a theme within my display.
After cutting each page and stacking the pages together, I realised that they did not line up correctly at the top, some pages were slightly larger than others and meant that the book did not look neat at the top. I then used a steel ruler and a scalpel to trim the edges to size, which also did not work to well, and the edges now looked fairly scruffy and still weren't all the same size.
After feedback from the final seminar for this project, i decided to abandon the idea of making a book, as the prints were now too short to trim any more and I would not be able to make the book look any better. Instead, I decided to cut each print individually so they each have a very small white boarder. I am planning to find a small white box to put the prints into, where people can pick up the prints and look through them.
No comments:
Post a Comment